
Amiga short takes: upgrading my Amiga 3000 (posted 2020-10-21)
I've been on an Amiga upgrade spree recently. So I thought I'd go over all of them, possibly providing some inspiration or caution to my readers. Apologies in advance for this short take being not very short.
I'm not going to bore you with upgrade stories from the 1990s, but let me explain the state of the machine as of a month ago. It's an Amiga 3000 without real Kickstart ROMs, so it loads Kickstart 2.0 from its 525 MB SCSI harddisk. It has the standard 25 MHz 68030 CPU and 10 MB total RAM. The machine had three cards: an ISDN-Master ISDN card, which is of course useless now that ISDN service doesn't exist anymore, a CyberVision 64/3D graphics card and an X-Surf Ethernet card.
Fan replacement
Not sure if it was always like this, but the past years I've barely used this machine because the fan was so loud. But: it turns out that the Amiga 3000 uses standard 80 mm fans that are still used today. So I got a Arctic Cooling F8 TC to replace the original fan.
Installing the new fan required opening up the power supply, and it turned out that the original fan only has two wires while this one has three. So I cut off the original connectors and connected the red wire from the old fan to the 12 V wire of the new one and the blue wire to the ground on the new one. (The third wire reports the fan speed back to the motherboard, which our A3000 doesn't support.)
Note that the fan needs to go in backwards (with the logo on the inside) in order to blow out air rather than to suck it in. It also has a temperature sensor on a wire, that I put in the middle of the machine. When the machine is cool you really don't hear the fan, but it should ramp up as the machine runs hotter. So now it's the SCSI HDD that's the noisiest part of the computer.
Gotek floppy emulator
Pretty much right on cue the aforementioned SCSI developed a read error. Obviously, a 25-year-old HDD that's been running 24/7 for at least five years back in the 1990s is not going to live forever. When it dies, that leaves me with no way to boot the computer, as the only alternative, the floppy drive, didn't work.
So I got a Gotek floppy emulator. That's a box that goes into a floppy drive slot and is connected like a floppy drive. However, it emulates floppy disks using disk image files on a USB flash drive. Be sure to order the Gotek from an Amiga store, so it's set up to work with your Amiga out of the box.
In order to avoid boot issues, I wanted the Gotek to be DF0 so the existing floppy drive needed to become DF1. I'm not sure if it's an actual rule that DF0 is in the middle and DF1 on the right, but that's how I set up things anyway.
First of all, you have to set a jumper on the A3000 mother board from NODF1 to DF1 to have two internal floppy drives. Find this jumper by removing all the Zorro cards and locating the clock battery on the left. From there, go right about 10 cm until you see the jumper. I also had to change the DS0 to DS1 on the original drive and S1 to S0 on the Gotek. Be sure to note how the cables are connected before disconnecting anything, they fit in both directions, but they only work when plugged in correctly.
I installed the Gotek on the drive sled with just screws through the last holes on both. This way, the Gotek is recessed enough so the case can get back on and a small USB stick can stay in the Gotek even with the drive cover over the drive slot. There's two buttons to select different disk images, you need something pointy to reach those but it's not too hard.
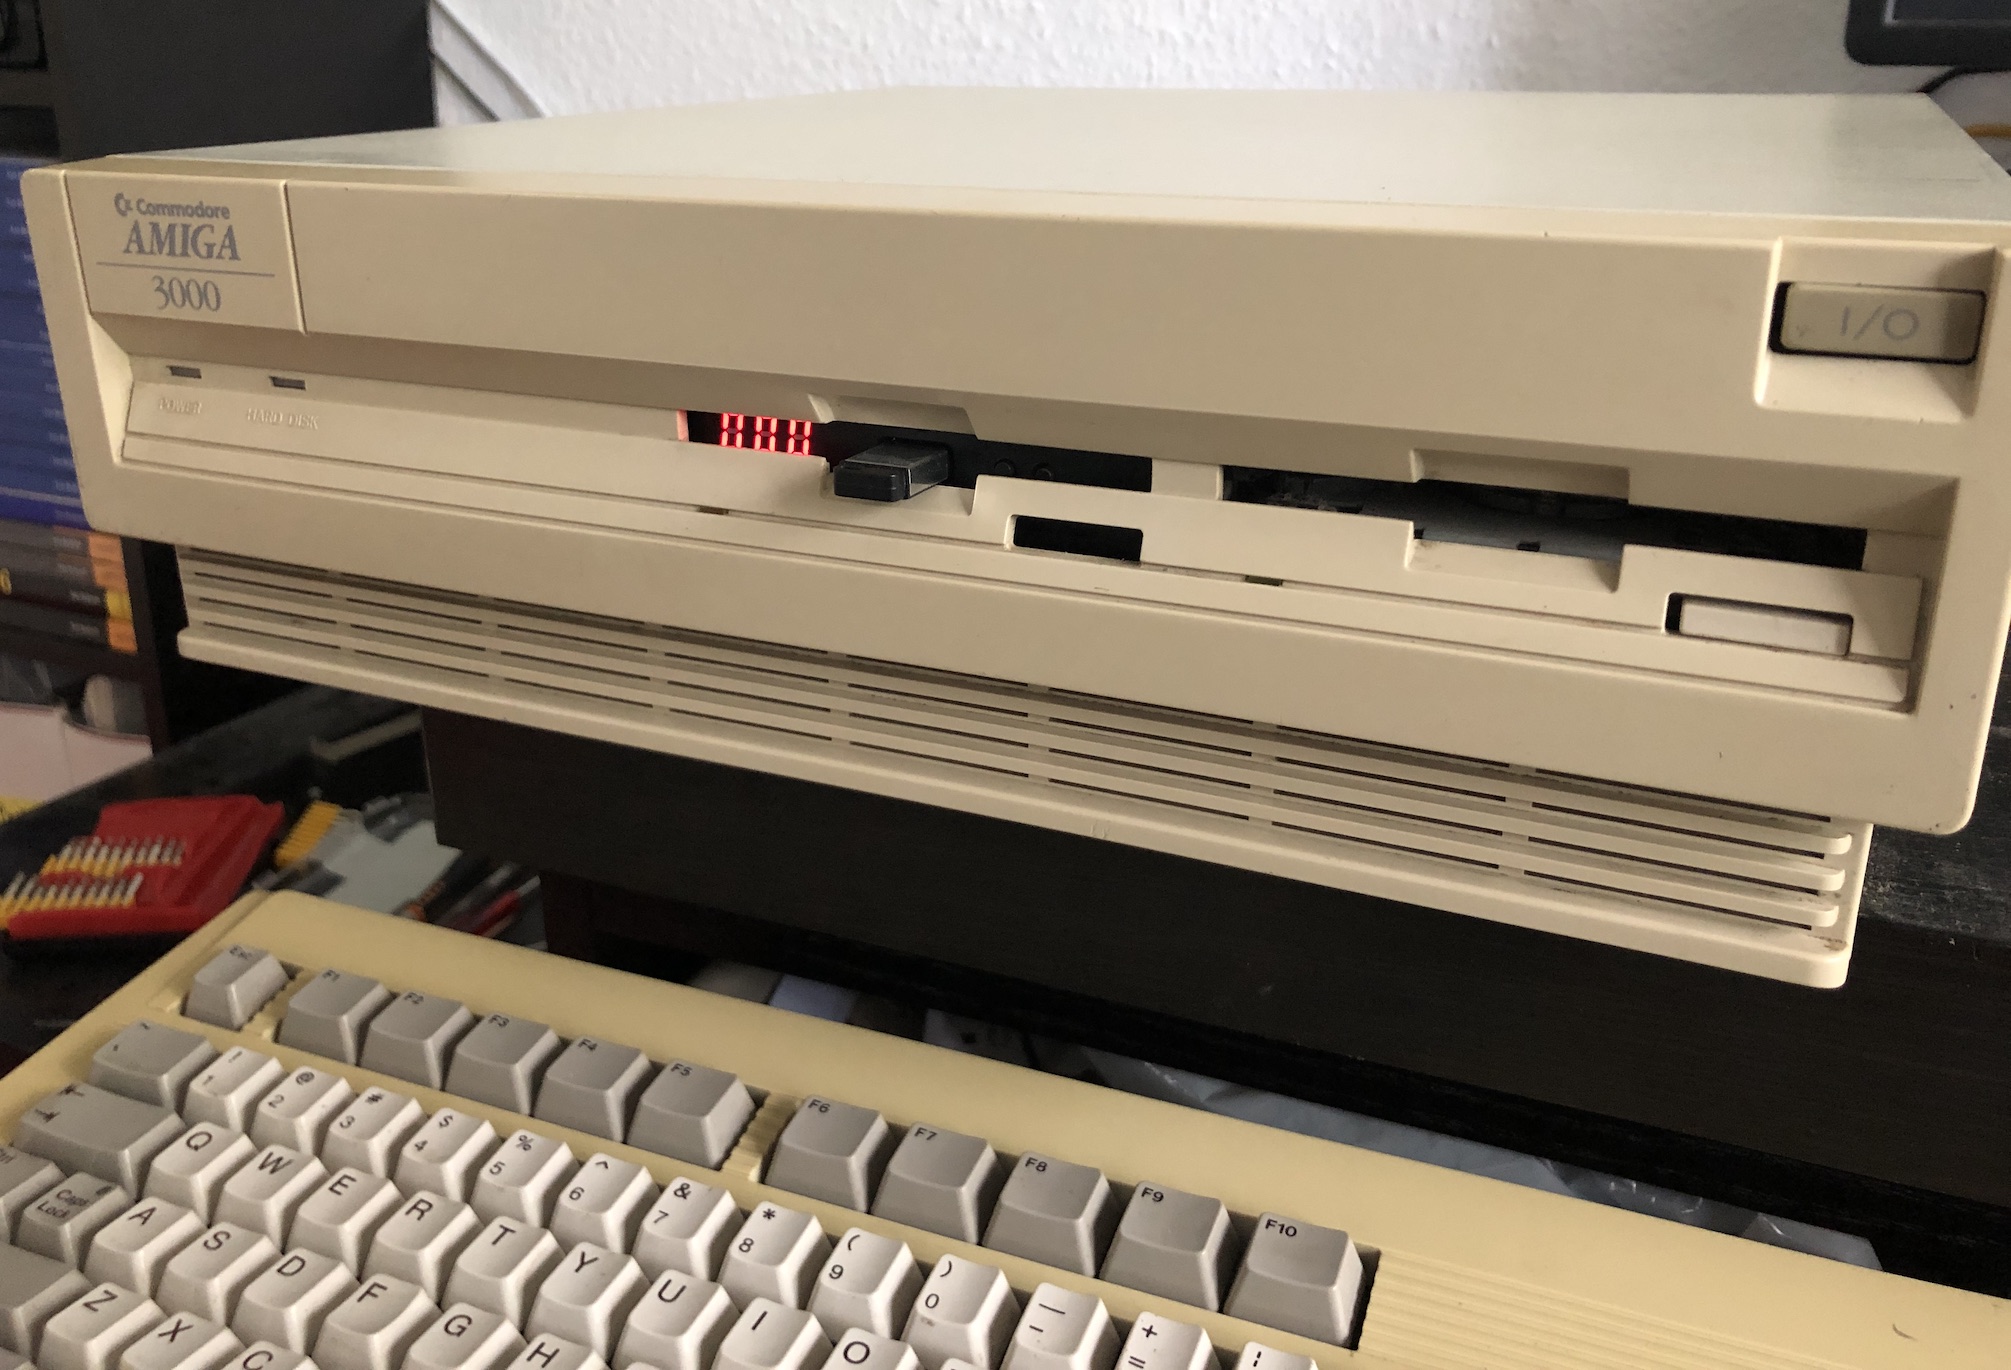
The red numbers indicate which disk image has been selected, and there are two small buttons on the right hand side of the USB flash drive do change disk images.
Turns out, this whole procedure brought the original floppy drive back to life, too! I'm thinking it was wired up incorrectly at some point.
Adjusting the flicker fixer
For some time, the flicker fixer hasn't produced a workable image. Turns out there's a tiny hole next to the switch that turns the flicker fixer on and off, and there's a little screw in there that you can turn to adjust things. However, that didn't go so well: everything now looks worse than before, with a shaky image. The problem was that the screw kept moving to the side as I tried to turn it, so I think it's no longer properly connected to the motherboard. So at some point I want to have some maintenance done on the motherboard and fix this, but I can't do that myself, I'll have to find someone who can do it properly. Good thing I have the CyberVision card so I don’t really need the Amiga’s built-in video output.
Installing a Buddha IDE card and CF cards
Not long ago, I wrote that I was going to keep my Amiga 3000's SCSI harddrive going for the time being. A week later, the computer was unable to boot because there was a read error on the drive, prompting me to rethink my earlier decision.
The reason just a single read error can make an Amiga unbootable is because with that error, the volume couldn't be validated. Which meant that it could only be mounted read-only. And I have a weird startup-sequence that uses the execute command before T: exists, so execute wants to write a temporary file to the boot drive. Fortunately we have DiskSalv, but it took several full passes over the course of as many days for the drive to be restored to working order. And that's just a single read error.
So I ordered the Buddha IDE from Individual Computers. This is a Zorro II card with two IDE ports. The cool thing about the Buddha is that it has its own driver built in, so you can boot from the attached drives. Exactly what the (disk) doctor ordered.
The Buddha only takes about half of a card slot (towards the front of the machine), which let me install a Delock CF-to-IDE converter in the back so I can insert and remove CF cards that will act as IDE drives without opening up the computer.
The Buddha card comes with a 128 MB "DOM" (disk-on-module) installed on one IDE port. On the DOM, there's an installer that will install OS versions 1.3, 2.0 or 3.1 on your new IDE drive. Afterwards, you're supposed to remove the DOM and don't forget to change a jumper if you want to use the port for something else.
Long story short: the Amiga's boot ROMs don't recognize the Buddha as a location to load the Kickstart image from. I also had mixed results with the Kickstart 2.0 recognizing a CF card connected to the Buddha. However, I've been running AmigaOS 3.0 on the machine by loading an addition Kickstart 3.0 in RAM. That kickstart sees the Buddha and then boots from the attached CF card. So I really only need the SCSI drive to load the two Kickstarts. After that, I use assign dismount wb_2.x: and assign dismount <volumename>>:, so the drive is no longer visible andquietscsi to turn off the SCSI drive motor so the computer is nice and quiet.
At some point I think put Kickstart 3.x ROMs in the 3000 so I can get rid of the SCSI drive altogether. Update: it is actually possible to boot a superkickstart A3000 from the Buddha card.
Using CompactFlash cards with the Buddha
I used HDToolbox to set up two CF cards as Amiga FFS drives, and that worked fine. (Tip: to use HDToolbox with the Buddha, add a tooltype SCSI_DEVICE_NAME=buddhascsi.device or start it from the shell with "hdtoolbox buddhascsi.device".)
With fat95 installed, the Buddha will also happily read and write FAT formatted CF cards for exchanging data with the non-Amiga world with the right drive definition, see it here or download it here.
Transfer speeds I saw depended a bit on the CF cards, with the smaller/older ones topping out at around 1.5 MB/sec, while the newer/bigger ones got close to 2.3 MB/sec. Note that even though CF cards are designed to be hot pluggable so there won't be any hardware damage, the Buddha doesn't support changing CF cards while the computer is on, the machine then hangs.
Conclusions
In hindsight, maybe I shouldn't have bought the Gotek, as I did that mainly to have something to boot off of when that ancient SCSI finally gives up the ghost. But I could have solved that with the Buddha and some Kickstart 3.x ROMs. Another good use of a Gotek drive is for loading floppy-based games, but with the terrible state of the built-in video right now, I'm not going to play any games on the A3000.
I'm super happy with the new fan, though. If you have a 3000 and you feel comfortable doing some work on it yourself, this is definitely an upgrade you have to do.